
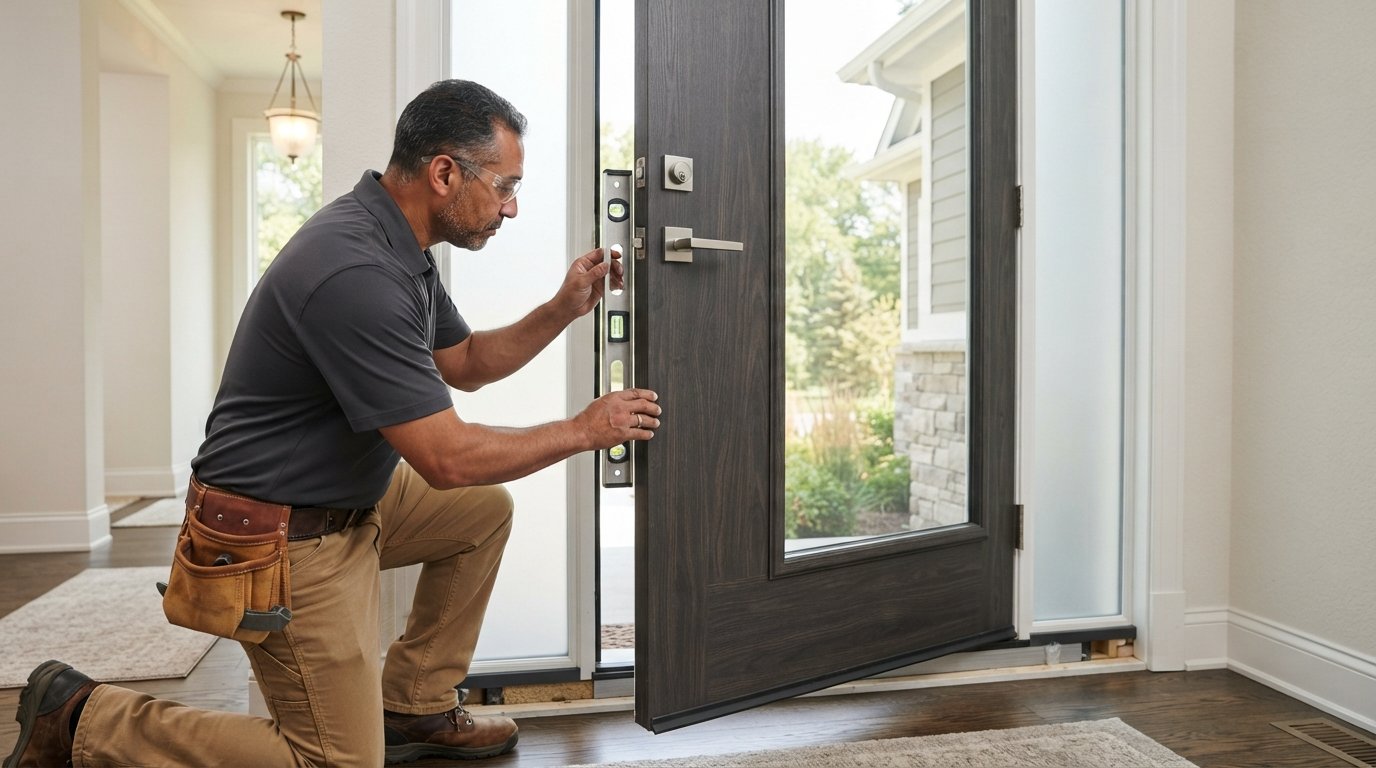
A Therma-Tru door is not simply a decorative slab; it is a precision-engineered barrier that only performs when installed with absolute meticulousness. If you have ever felt winter winds cut right through your foyer, you know the frustration of a drafty entryway. It’s just as unsettling to worry that an improper Therma-Tru entry door installation could quietly void your manufacturer warranty.
You shouldn’t have to compromise between lasting warmth, home security, and peace of mind. By understanding the proven methods behind subfloor preparation, sill pans, and structural hinge anchoring, you will ensure your new door system stops drafts and preserves its full lifetime warranty protection. In this professional guide, we walk you step-by-step through the exact process required to achieve a weather-tight fit built to last.
Key Takeaways
- Learn why precise rough opening measurements and a sound, level subfloor are essential to keep out harsh winter drafts.
- Discover the critical flashing, sill pan, and shimming methods required for a weather-tight Therma-Tru entry door installation.
- Understand how utilizing complete, genuine system components protects your manufacturer lifetime warranty from being compromised.
- Master the final threshold and multi-point locking adjustments that ensure smooth daily operation and maximum home security.
Preparing Your Entryway for a Therma-Tru System
A successful Therma-Tru entry door installation begins long before unboxing the unit. Across the Fox Valley, in towns like Campton Hills and Elburn, older homes experience subtle foundation settling from relentless freeze-thaw cycles. Relying on nominal manufacturer dimensions without examining the existing rough framing invites severe air and moisture infiltration. Before taking delivery, inspect the subfloor down to the joists to identify rot or sag. For local durability, fiberglass panels consistently outperform steel, resisting rust, surface dents, and cold conduction during bitter Illinois winters.
Measuring for the Perfect Seal
Precision framing makes or breaks thermal efficiency. Always execute a three-point check, measuring the rough opening width across the top, middle, and bottom, then checking height at the left, center, and right. Illinois foundations shift; you must confirm that the framing is truly plumb, level, and square. In this trade, “close enough” guarantees binding latches and compromised weather seals. A Therma-Tru door is a collection of engineered parts designed to work in total harmony.
Do not overlook operational clearance. Measure finished interior flooring heights, accounting for plush rugs or tile build-up, and evaluate exterior porch landings so the door swings freely without dragging across the sill. Thorough preparation eliminates guesswork, ensuring your Therma-Tru entry door installation remains airtight and structurally sound for decades. Working with a certified door installation contractor Illinois homeowners trust ensures your rough opening is evaluated to the exact factory standards required before a single component is set.
Step-by-Step Therma-Tru Entry Door Installation
Water management forms the backbone of a proper Therma-Tru entry door installation. Begin by bedding a rigid composite sill pan in three continuous beads of elastomeric sealant across the prepared subfloor, ensuring side flashing tape shingle-laps over the pan’s upright legs. Never caulk the bottom exterior edge where the sill meets the pan, as moisture must drain outward. Next, carefully set the pre-hung unit into place with its factory transport clip intact to preserve latch alignment.
Level and plumb the hinge jamb first. Place solid shims directly behind each hinge location to keep the jamb from bowing under the weight of the slab. Replace the factory center screws in each hinge leaf with 3-inch structural screws, driving them fully through the shims into the framing studs. Once margins remain a uniform 1/8 inch around the perimeter, adjust the sill cap screws until the sweep makes firm contact along the threshold.
Weatherproofing for Illinois Climates
Sealing against Midwest cold demands restraint. Insulate the perimeter gap with low-expansion polyurethane foam rather than loose fiberglass batt, stopping drafts without warping the jambs. Seal the critical jamb-to-sill joints and seat the corner seal pads firmly beneath the weatherstrip. To verify the seal, close the door on a dollar bill; it should pull out with gentle, even resistance. If you prefer precision craftsmanship backed by decades of local experience, trust certified Therma-Tru entry door installation specialists to deliver lasting protection.

Maximizing Performance and Warranty Protection
A flawless Therma-Tru entry door installation does more than eliminate drafts; it safeguards your investment. Therma-Tru’s Lifetime Limited Warranty demands total system integrity, requiring genuine components from sill to header. However, manufacturer warranties exclude installation labor. That is why our two-year workmanship warranty provides an essential safety net for your home. Before packing up tools, fine-tune the hardware. Adjust the strike plates so the multi-point locking system glides smoothly into place without forcing the handle, keeping the slab perfectly aligned under thermal stress.
Strict finishing timelines also govern your warranty coverage. Factory guidelines require finishing fiberglass panels within six months of exposure, while raw wood jambs require primer and paint within two weeks. Respecting these timelines preserves the weather barrier against seasonal humidity. Homeowners in Kane, McHenry, and DeKalb County can review the exact training and vetting standards that distinguish a certified door installation contractor in Illinois from a general tradesperson before committing to any exterior door project. For homeowners looking to integrate door replacements into broader residential upgrades, find out more about full-home renovation and craftsmanship standards.
Maintaining Your Investment
A master craftsman approach stops moisture intrusion, the single greatest cause of door failure, before water ever reaches structural framing. Routine seasonal care keeps your entryway performing at peak efficiency:
- Test threshold contact by sliding paper beneath the door sweep to ensure snug compression.
- Check corner seal pads at the bottom of the jambs to confirm they remain intact.
- Wipe down compression weatherstripping and inspect topcoats for sun or moisture wear.
Working with a certified Therma-Tru door installer ensures your entryway receives the precision care it deserves, giving your home lasting comfort and total peace of mind.
Secure Your Home with Lasting Entryway Performance
A high-performance entrance requires far more than quality materials; it demands deliberate, methodical execution. From leveling uneven rough framing to bedding the sill pan and dialing in weatherstrip compression, each step shields your foyer against severe winter drafts. Taking these extra measures preserves vital warranty protections and guarantees that every component functions in perfect harmony.
Your home doesn’t deserve shortcuts. Backed by an A+ Better Business Bureau rating and 40 years of local Illinois craftsmanship, we treat every entryway with meticulous care. Partnering with a certified Therma-Tru installation contractor ensures your Therma-Tru entry door installation stands up to the harshest seasons. When you are ready to invest in lasting comfort, get a professional quote for your Therma-Tru installation and welcome genuine peace of mind.
Frequently Asked Questions
Can I install a Therma-Tru door in my existing frame?
While you can technically hang a new slab in an old frame, we strongly advise against it for exterior openings. Existing frames in areas like Geneva and St. Charles often settle, warp, or harbor concealed rot. A true Therma-Tru entry door installation relies on a complete engineered system where the slab, composite jambs, sill, and weatherstripping work together to prevent air leaks.
How long does a professional entry door installation take?
A standard single-door installation typically takes between four and eight hours from start to finish. Our crew removes the old unit, repairs any deteriorated subfloor framing, beds the sill pan, and anchors the new system. More complex configurations in homes across Batavia or Algonquin with sidelites and transoms may take a full day to complete cleanly.
Does Therma-Tru require specific hardware for the warranty to remain valid?
Yes, Therma-Tru requires certified system components and structural fastening to keep its Lifetime Limited Warranty fully intact. To qualify for complete Tru-Defense coverage, you must utilize genuine Therma-Tru weatherstripping, corner seal pads, and sills. Fastening requires driving 2-1/2-inch or 3-inch exterior screws through the hinge leaves directly into the rough wall studs. Generic parts void manufacturer coverage.
What is the difference between a pre-hung door and a door slab installation?
A door slab is merely the individual panel, whereas a pre-hung unit arrives factory-mounted inside its own weatherstripped frame, complete with hinges and threshold. Slab replacements force carpenters to mortise hinges on-site to match older, out-of-square openings. A pre-hung Therma-Tru entry door installation provides precision factory clearances that seal properly against bitter northern Illinois winter winds.